It’s always fun to find alternate folds to use for card designs. Today’s design is a side fold shared by Patty Bennett during a team stamping event. So, I added the fold to my “must create” fun fold list. Using the So Many Snowflake Dies, multiple snowflakes are cut and layered to embellish the Snowflake Side Fold Card. The Winter Snow Embossing Folder creates the perfect background for the layered snowflakes.
Materials:
- Snowflake Wishes Bundle
- Balmy Blue cardstock: card base: 4-1/4” x 11”, score at 5-1/2” & 6-3/4”; scraps for cutting snowflakes
- Snowflake Splendor Designer Series Paper: 1” x 4”
- Whisper White cardstock: 4” x 4” (2 pieces – for front & interior)’ 1” x 3-1/2” for sentiment
- Balmy Blue Glimmer Paper – for large, medium & small snowflake
- Winter Snow Embossing Folder
- Misty Moonlight Classic Ink Pad
- Blue Adhesive-Backed Gems
- Snowflake Splendor ¼” ribbon
- Stampin’ Seal+ Adhesive
- Glue Dots
- Stampin’ Dimensionals
- Stampin’ Cut & Emboss Machine
- Optional: Tag Punch to cut notch for ribbon
Directions for Assembly:
- Fold Balmy Blue card base along fold lines. Use adhesive to seal the card front to the card back in the area between the score lines (5-1/2” to 6-3/4”).
- Add the strip of designer series paper to the card front (sealed section).
- Texture emboss one of the 4” x 4” Whisper White cardstock pieces. Attach to the card front.
- Snowflakes: use the snowflake dies to cut a large, medium and small snowflake from the Balmy Blue Glimmer Paper and the Balmy Blue cardstock. After die cutting snowflakes, layer the cardstock pieces atop the glimmer paper pieces attaching with glue dots.
- Stamp sentiment onto strip of Whisper White cardstock using the Misty Moonlight Classic Ink Pad.
- Position snowflakes to the card front and attach using glue dots.
- Add sentiment strip using Mini Stampin’ Dimensionals.
- Embellish the center of each snowflake with a Blue Adhesive-Backed Gem.
- Finish the card by wrapping a ribbon around the left side of card, overlapping ends on front of the card. Tie a small bow using the ribbon and attaching where the ribbon overlaps on the card front. TIP: to hold ribbon in place, use tag punch (or another punch) to cut a small notch wide enough to create a track for the ribbon
Be sure to give the side fold card design a try! And add the Snowflake Wishes Bundle to your order, it’s a great set for winter themed cards.
Reminders:
Margaret’s Customer Loyalty Program: Download the form (2020-2021 Customer Loyalty Form) for program details and start tracking your orders. Plus for your orders over $150, you’ll also receive rewards from Stampin’ Up! Thank you for placing your order with me. You can order Project Materials at the bottom of the post or click here to visit my Online Store. I sincerely appreciate your orders.
Curvy Celebrations is underway! The Quite Curvy Variety Bundle is now available for you to order. Click here to view the products available.
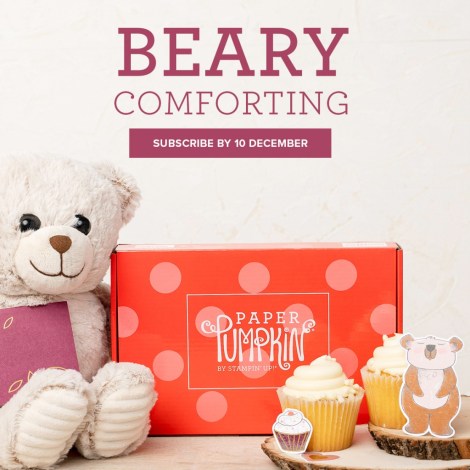
Beary Comforting Paper Pumpkin Kit – Available for ordering through December 10. Kit details and ordering – click here.
Thanks for stopping by! Happy crafting…
Project Materials:
The current host code is: CJSBNX7Z. Please use this code if your order is $150 or less (before shipping & taxes). Remember, if your order is over $150, you will receive the host rewards.


Beautiful card! I need to try the side fold technique!
Do try the side fold and share your creations!